Ever since my first attempt at making beer I’ve wanted to try it again, but living in a Manhattan apartment has some limitations, and making five gallons of beer can be one of them. When I found out that Brooklyn Brew Shop made a one gallon beer making kit that was perfect for a city apartment, I decided it was time to give it another try. I got a Bruxelles Blonde kit, which came with almost everything to make an ale style beer:
- 1 gallon glass carboy
- Airlock
- Tubing
- Thermometer
- Sanitizer
- Barley
- Hops
- Yeast
Additional equipment needed, but not included in the kit:
- Six quart stock pot
- Second pot
- A fine mesh strainer
- Funnel
- Bottles and caps
- Honey
Since I had everything needed, I started making my second batch of homemade beer in late August.
Phase I
Sanitizing
First things first. I used the included sanitizer and some water and sanitized all the equipment that was going to be used. After soaking for a few minutes, everything was rinsed off and allowed to dry.
Mashing In
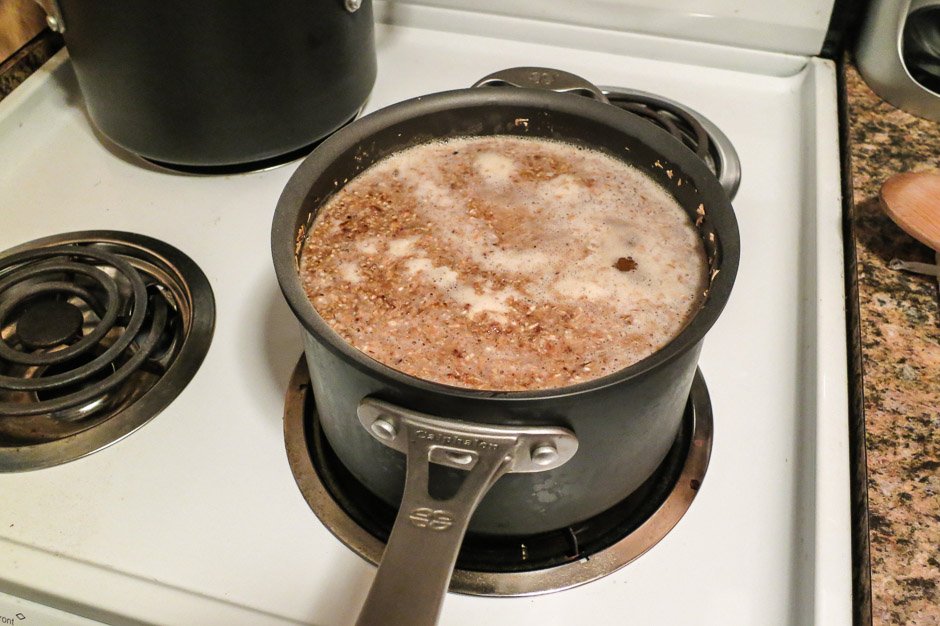
I heated two quarts of water in a 3½ quart saucepan and waited for the temperature to hit 170°. I added the barley and let it cook for 60 minutes while stirring every 10 minutes and adjusting the heat to keep the temperature around 160°. The water plus barley was just about at the top of the saucepan. After 60 minutes, I turned the heat up and stirred until the mash was 170°. I then poured the mash through the strainer into the six quart stock pot.
Wort
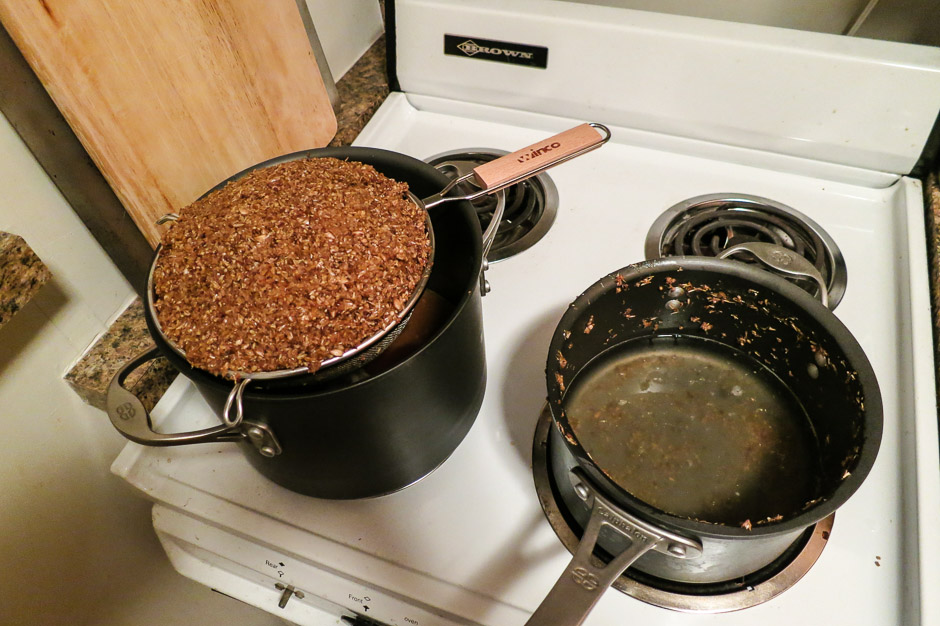
I heated up an additional four quarts of water to 170° (two quarts at a time) and poured them over the barley in the strainer and into the stock pot. One issue I had was that I was using an eight-inch strainer, but my stock pot is 10 inches, so just about every pour resulted in some barley overflowing the strainer and getting into the pot. This was not a huge problem since it would be strained out prior to fermentation, but the extra grains in the pot did not help during the cooling off phase. If I decide to continue to make beer in the future, a 10-inch strainer will need to be used to prevent this.
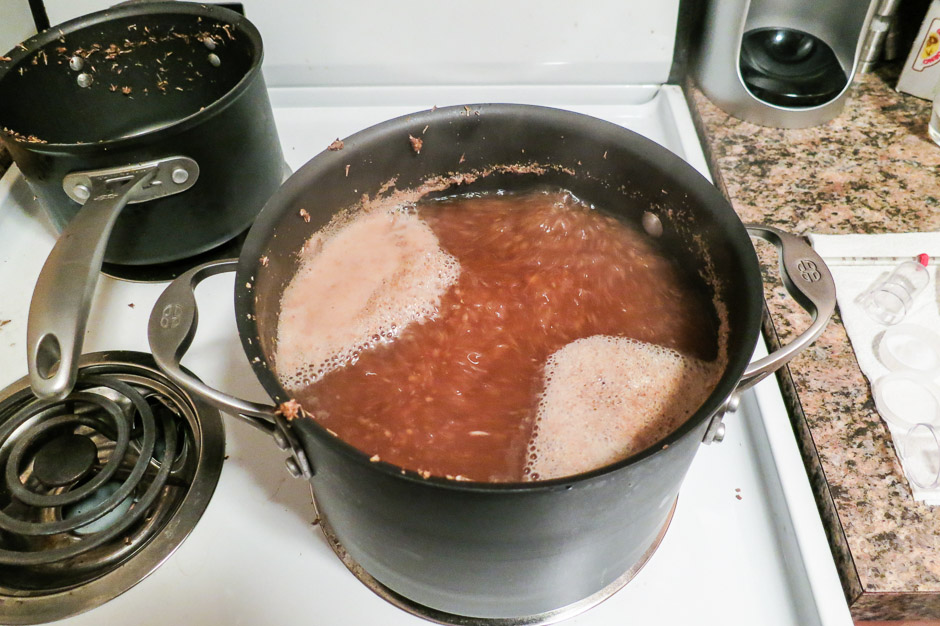
Once the stock pot was filled with about five quarts of water, I started a slow boil of it for 60 minutes. At the start of the boil, I added ⅓ of the hops. About 30 minutes into the boil, I added an additional ⅓ of the hops, and the remaining ⅓ hops were added 45 minutes into the boil. While adding the last ⅓ of the hops to the wort, the scent from the boil smelled vaguely like beer. It smelled more like barley based oatmeal, but the scent of the hops was definitely detectable in the background. Once the wort had been boiling for 60 minutes, the stock pot was transferred to a cold water bath in the kitchen sink. Cold water was cycled several times to bring the wort’s temperature down to about 70 degrees. This took a considerable amount of time since there was so much barley at the bottom of the pot that really held on to the heat. I tried to remove the barley to alleviate the heat retention, but it was very difficult since any movement of the wort just stirred up the barley. Ironically, if I had a smaller strainer, I would have been more successful.
Setting Up Fermentation
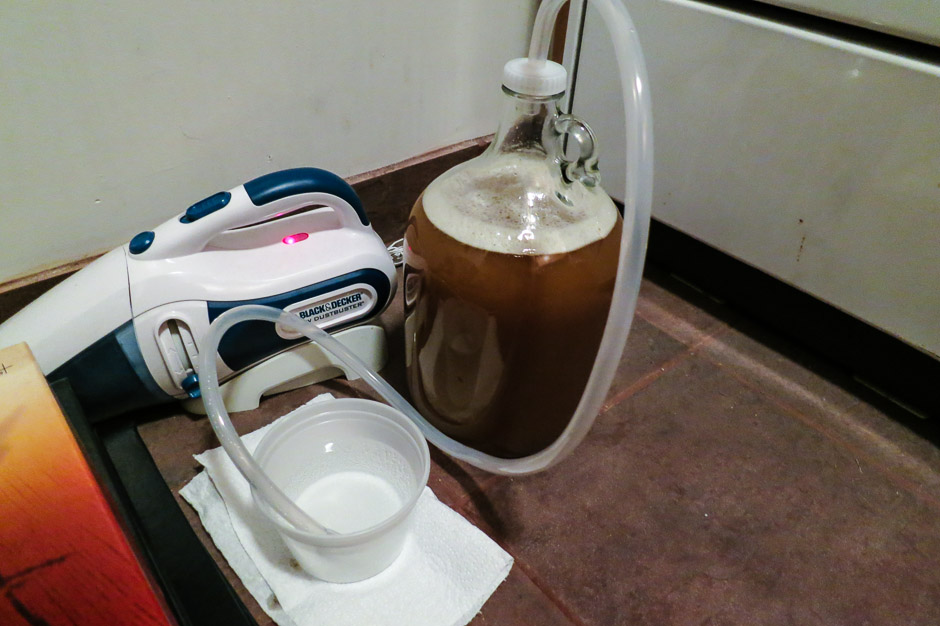
Using the strainer and a funnel, the wort was poured into the carboy, which wound up being a little less than one gallon, so tap water was added to bring the amount up to slightly more than one gallon. The yeast was added and I shook the carboy vigorously to wake them up. The included cap was put on the carboy and plastic tubing was run from the cap to a bowl of reserved sanitizer. At about 8 p.m. I was done with the first phase of beer making. Now we basically let it sit for two weeks to allow the yeast to use the sugars from the barley to create alcohol.
Phase II
Fermentation
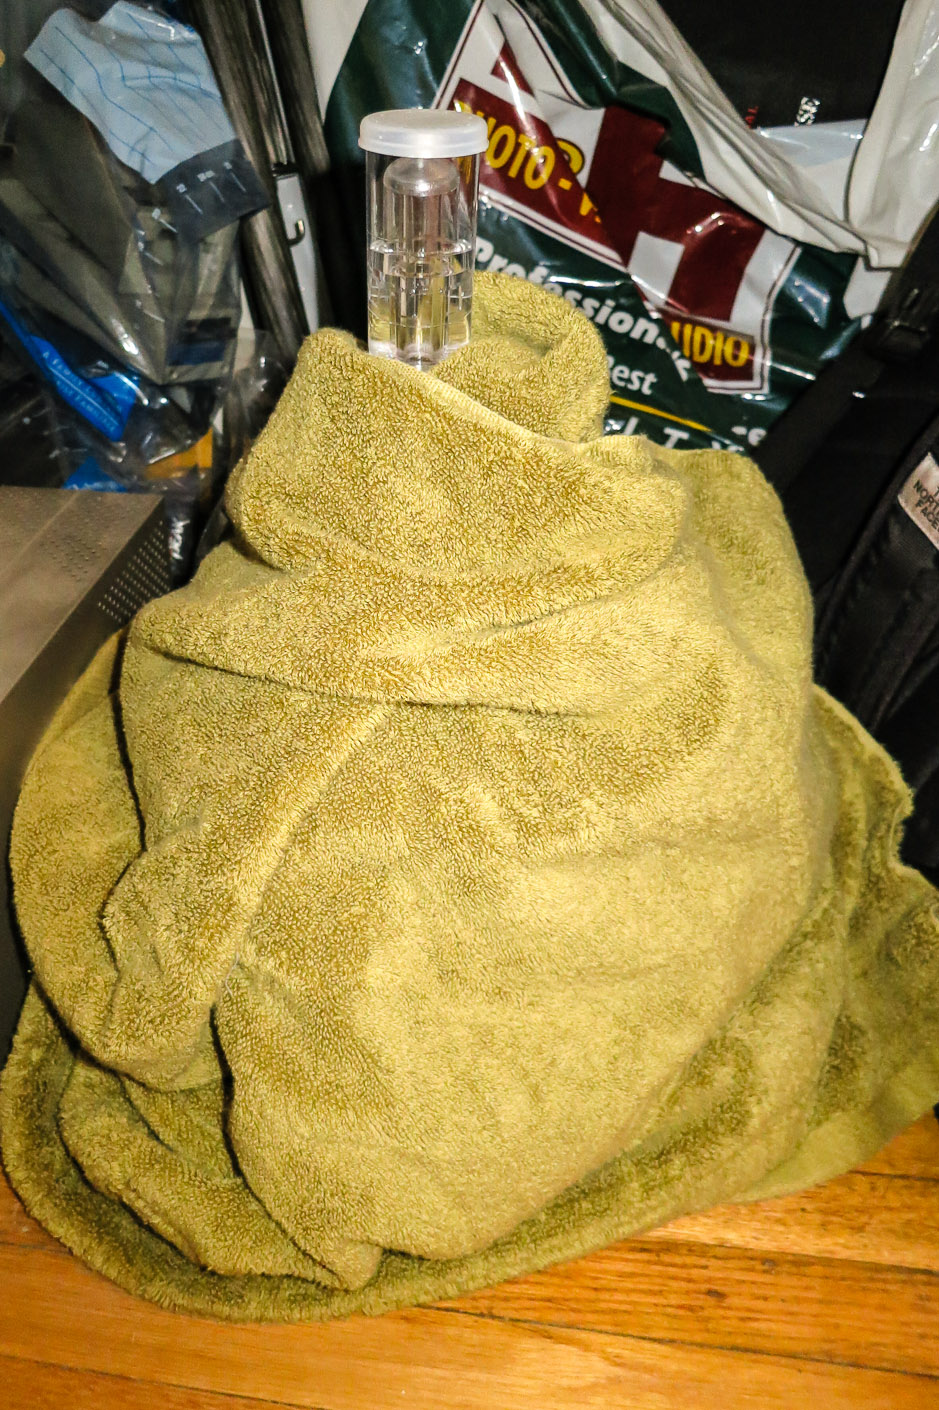
At about 3 a.m. the following morning I happened to be up, so I took a quick glance at the bowl of sanitizer that the tube was in, and saw that it was bubbling a bit. Good news everybody…the yeast is alive and feeding! A few days later on September 3rd at 8 p.m. I removed the tube and bowl of sanitizer, added the included airlock to the cap, moved the carboy to a closet, and wrapped it in a towel to keep it dark.
I set a calendar reminder for September 15th to remember to bottle the beer.
Phase III
Bottling
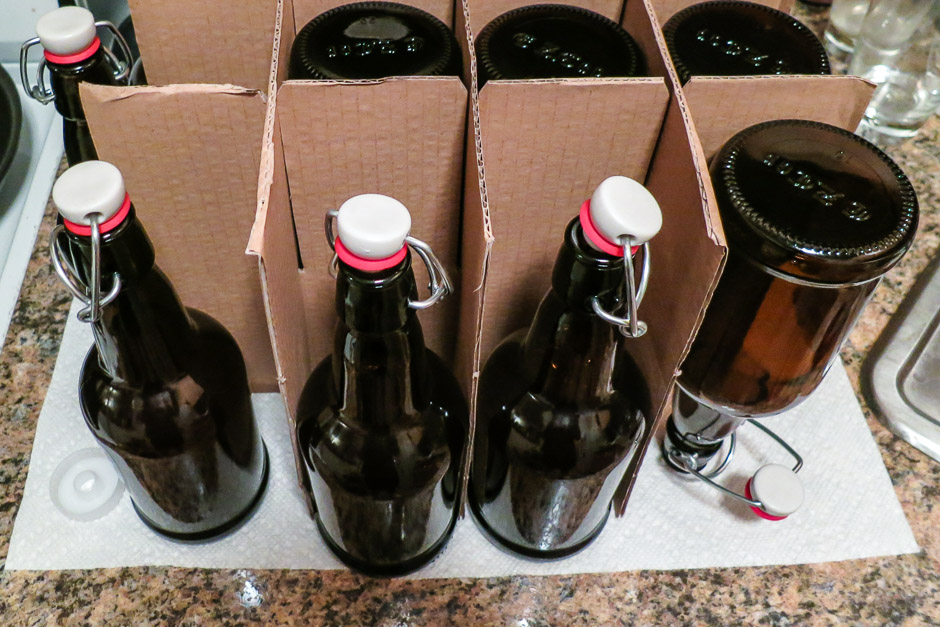
On September 15th at around 10 p.m., having not seen active bubbling for a few days, it was time to bottle and carbonate. I sanitized all the equipment again, including bottles, and allowed everything to air dry. I put some honey and little bit of water in the stock pot and used the included racking cane and tubing to siphon the beer from the carboy into the stock pot. The beer was then siphoned from the stock pot into individual bottles, which were put into the closet to sit and carbonate for two weeks. The added honey gives the yeast a source of sugar to really feed off of and create CO2.
Phase IV
Drinking
On Friday evening, about 12 days after bottling, I put two bottles in my fridge in anticipation of drinking them the next day, and so, on the 13th day after bottling, I opened the first bottle to see how the beer turned out.
The last time I made beer I used a hydrometer to check if alcohol was being produced, and while it was, it was not being created to the level expected. This time, since the kit did not come with a hydrometer, I wasn’t able to measure anything. The only indication that things were working well would be upon opening the beer after the process was complete.
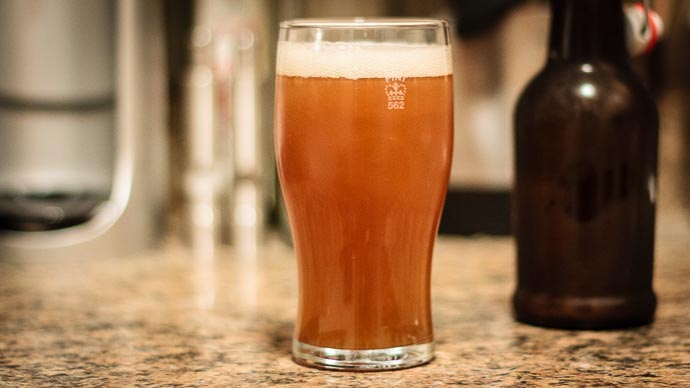
I pressed the sides of the bottom of the swing-top, and it opened with an audible “pop”. I could see vapor right above the liquid beer near the top of the bottle. I put my nose near the bottle, sniffed a bit, and smelled the unmistakable scent of beer. It did not smell yeasty or bready, but rather just like beer. I poured it into a glass and it looked and smelled like beer. Towards the end of the pour, when unable to pour against the side of the glass, a rather nice looking head appeared. When I put the glass down and looked through the side, the beer had a cloudy orange color and I could clearly see bubbles floating to the top. It looked, smelled, poured, and acted like beer, but there was one test left.
I picked up the glass, held it to my nose, and inhaled deeply. I could smell the bitterness of the hops, and a very, very slight citrusy aroma, as well as a slight sweetness from the barley. And then came the most important test of all: taste. I sipped a bit. Not only did it taste like beer, it tasted like good beer. I took a large swig and really let it roll around my tongue. It tasted just like any good ale I’ve had in the past…I could clearly taste the hops, but they were not overpoweringly bitter like some IPAs. I couldn’t taste any citrus, and the barley sweetness was barely there. It tasted clean and crisp and was delicious.
I was shocked and surprised, but I had made, not only beer, but good beer. However, let’s be honest here…the kit made it easy; I just followed the directions.
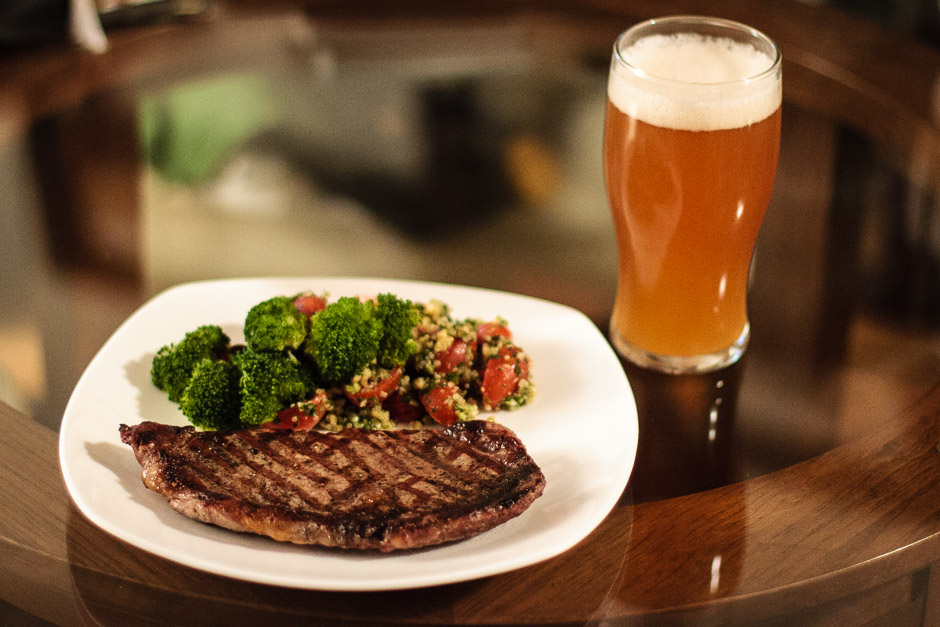
As I finished my first beer, I thought that the second beer would be great paired with a really nicely made homemade burger with mild cheddar cheese, lettuce, tomato, and a nice slice of raw onion on a brioche bun. Too bad I only had a rib eye steak in my fridge.
They were both delicious.
